Changing inner bicycle tubes: Easy guide for all situations
The sun is shining, the birds are chirping and you hop on your bike with a big smile on your face. But stop! A hissing noise, a sinking rear wheel – a flat tyre! Now you need know-how, because changing inner bicycle tubes doesn’t have to be complicated if you know how to do it.

Your tool checklist for changing inner bicycle tubes
Before you set off, make sure you have a spare inner tube, tyre lever, air pump and, if necessary, a repair kit to hand. This will enable you to change the inner tube successfully.

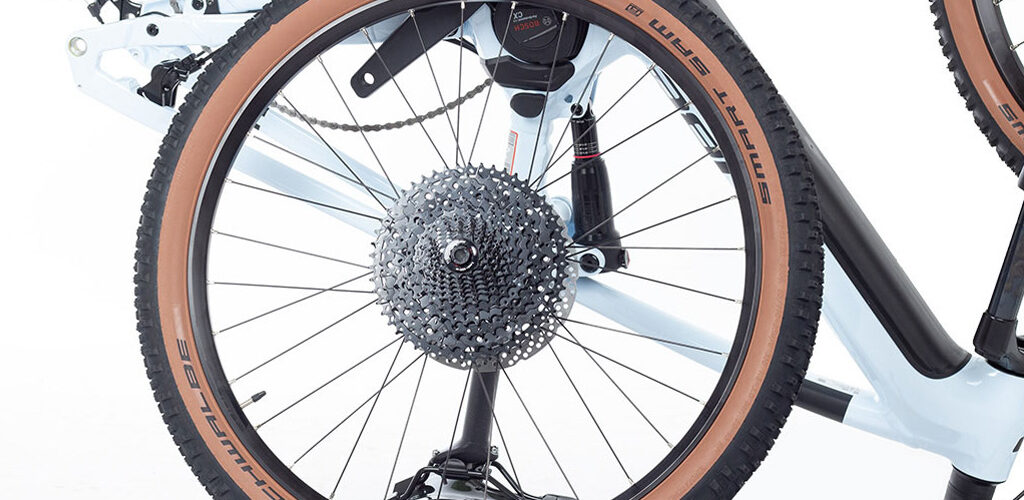
1. Disassemble the wheel: And let’s go!
Rear wheel: Shift to the lowest gear (highest gear number).
Open the quick release, loosen the nuts with a suitable spanner or loosen the thru axle with a suitable Allen key.


Detach the chain from the sprocket and remove the wheel.
Additional steps are necessary for hub gears, e.g. loosening the shift cable.
2. Change the inner tube: The centrepiece of the operation
Unscrew the valve cap and release the remaining air from the tyre by pressing the valve


Place the tyre lever between the tyre and the rim and lever part of the tyre over the rim.
Use more tyre levers to remove the tyre further until one side is completely detached from the rim
Pull out the defective hose and start looking for the culprit to avoid further breakdowns.


3. Careful inspection: no repetition of the misery
Carefully check the tyre and rim for foreign objects that could damage the new inner tube.
Cautiously feel inside the tyre and over the rim with your fingers to make sure that nothing sharp is left behind
4. Inserting the new inner tube:
The new inner tube is pumped up a little and placed in the tyre.


Place the inner tube evenly in the tyre. Then carefully pull the tyre back over the rim.
Push the tyre back over the rim, starting at the valve and working your way around the tyre. Make sure that the inner tube is not pinched.


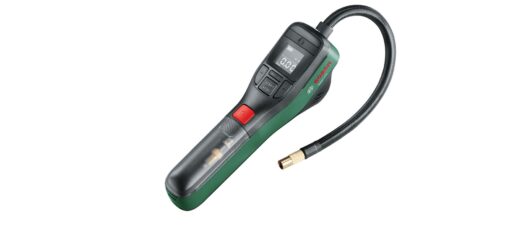
5. Inflate correctly: And the journey can continue
Inflate the tyre to the recommended pressure indicated on the tyre sidewall. While inflating, check that the tyre sits evenly on the rim and correct if necessary.
6. Fitting the wheel: Almost there!
One last feat of strength: The wheel is refitted, everything is tightened, the chain and brake are brought into position

Important tips for changing the inner tube:
Size and valve: The new bicycle inner tube should not only be the right size, but should also be fitted with the correct valve (Schrader, Presta, Dunlop).
Tyre check: A second look at the tyre prevents any unpleasant surprises.
Air pressure: A correctly inflated tyre ensures a comfortable and safe ride.
With these easy-to-understand steps, changing inner bicycle tubes is child’s play and you can happily continue your tour after a short break. Have a good and safe ride!
Additional tip for changing the bicycle inner tube:
Practice makes perfect! You can practise changing your inner tube at home in advance so that you can act quickly and efficiently in an emergency.
With this in mind, dear reader: Don’t let a puncture get you down, but see it as part of the charming adventure that comes with cycling. With the right steps and a relaxed approach, changing a puncture is not rocket science, but a short break on the wonderful journey through the world of cycling.
Related articles:
 How to change bike pedals: Your comprehensive step-by-step guide
 Cube models 2024: New era of diversity and innovation
 CUBE Longtail Hybrid: E-bike, cargo and trekking bike combined!
 E-bike batteries versus nature
 Bike phone holders: complete overview and the new RAVE phone frame bag
 Cube Nuroad Hybrid – E-Gravel Bike
 Bike lock: A must for every cyclist
 Cube 2025 models: New bikes and e-bikes


Recent Comments